

When heavy storms tear through the Twin Cities, your roof often takes the first hit. Whether it’s from high winds, hail, or falling branches, damage can happen fast. If you spot leaks or missing shingles, knowing how to tarp a roof quickly can protect your home and help safeguard your entire house from further damage until professional repairs are made.
This guide walks you through safe, effective emergency tarping, including emergency repairs as a critical step after storm damage. It also helps you decide when it’s time to call in the experts for lasting solutions.
Key Takeaways
- Emergency tarping roof methods provide temporary protection from rain and further damage and additional damage.
- Tarping roof leaks right after a storm helps prevent mold, rot, and structural issues.
- Safety is critical: never climb on a steep or wet roof.
- Krech Exteriors offers fast response times and lifetime workmanship warranties on roof repairs and replacements.
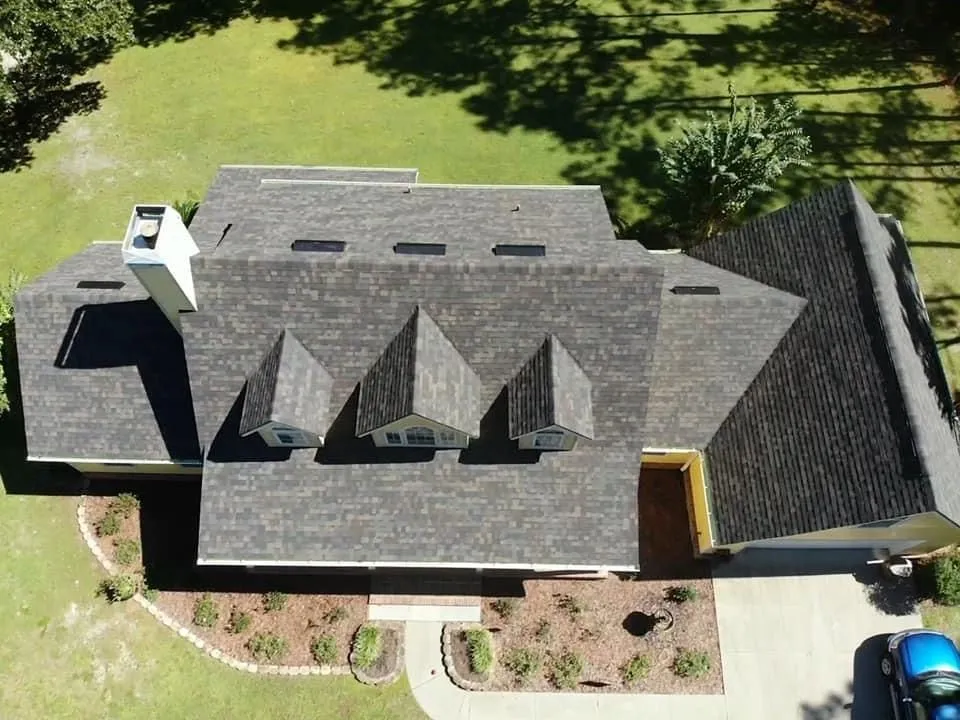
What Is Roof Tarping?
Tarping a roof involves using a tarp to cover the damaged section with a waterproof barrier to prevent water from getting into your home, especially when addressing a roof leak. In the Twin Cities, emergency tarping roof services are often needed after spring hailstorms or winter freeze-thaw cycles that expose weak spots.
Homeowners in St. Paul, Eagan, and Woodbury frequently use tarp protection while awaiting insurance claims or full roof restoration.
When You Should Tarp a Roof
- After hail breaks through shingles in suburbs like Bloomington or Maple Grove.
- When high winds rip off roofing materials during summer storms.
- If fallen tree limbs puncture your roof in wooded areas like Inver Grove Heights.
- When you spot water stains or leaking on your ceiling following heavy rain.
As part of your inspection and preparation for tarping, be sure to check and clear gutters of debris to ensure proper water drainage and prevent further roof damage.
Temporary tarping is essential for preventing water from spreading into insulation, drywall, or your electrical system.
Assessing the Damage
After a storm, your first move toward protecting your home is getting a solid assessment of your roof damage.
Safety comes first—no exceptions. Before you even think about climbing up there, gather the right safety gear: a sturdy ladder, thick work gloves, and protective glasses. If you’re not comfortable working at heights or your roof has a steep pitch like many homes in Highland Park or Northeast Minneapolis, your best bet is calling a professional roofer or getting advice from an experienced roofing community.
Start by checking out the entire roof from ground level, then carefully get up there if it’s safe to do so. Use a tape measure to size up the damaged area, making sure you include all the penetrations—vents, chimneys, skylights—since these spots are notorious for leaks in Minnesota’s freeze-thaw cycles. Clear away debris like branches, leaves, or loose shingles so you can get a clear view of what you’re working with.
Look for missing, cracked, or curled shingles, damaged flashing, and any holes or gaps that could let in rain or snow during the next Twin Cities weather event. Don’t skip checking the attic for water stains or signs of leaks on the wood underneath—these can show you hidden damage that’s not obvious from above. Take clear photos of every damaged spot; these images will be invaluable when you’re dealing with insurance and planning your tarp installation.
By carefully measuring and documenting exactly what you’re dealing with, you’ll be ready to secure your roof with a tarp and protect your home from further damage until proper repairs can be completed.
How to Tarp a Roof in 6 Steps
Tarping roof damage doesn’t have to be complicated, but it must be done with care. If it’s unsafe, skip the DIY and call professionals.
1. Inspect from the Ground
Use binoculars to examine the roof from a safe distance. Look for missing shingles, exposed underlayment, or roof decking.
If you have a flat roof, inspecting it may require different safety precautions, and damage may be easier to spot from the ground.
2. Gather the Right Materials
- Heavy-duty waterproof tarp (minimum 6 mil thickness) or plastic tarp (note: plastic tarps are a temporary solution and may degrade quickly in sun and wind)
- 2×4 wooden boards or board (used to anchor and secure the tarp)
- Tar paper (felt paper) as an alternative for longer-lasting temporary protection
- Screws or nails (roofing-safe) for fastening tarp, tar paper, or boards
- Utility knife
- Work gloves
- Safety harness (if accessing roof is necessary)
3. Measure the Damaged Area
Add at least 3–4 feet beyond the damage in every direction. This prevents water from seeping under the tarp during rain.
4. Secure the Tarp
Lay the tarp flat over the damaged area, making sure each edge is smooth and fully covered. Place 2x4s along the edges and wrap the tarp around each board before securing. The board should be wrapped tightly with the tarp to reinforce the edge and prevent tearing.
Secure the wrapped boards by nailing or screwing through the tarp into the boards—not directly into the roof. Proper nailing and securing of the tarp helps prevent wind from lifting or ripping it.
5. Call a Roofing Professional
If you have a roof leak, call professionals such as roofers or contractors to assess the damage and provide emergency tarping or repairs.
Even a well-secured tarp is only a short-term fix and not a fixed solution. Tarping roof for rain is a stopgap—not a replacement for proper repair, so a permanent fix is needed.
Safety Considerations for Tarping Roof Leaks
In the Twin Cities, winter ice and steep roofs can turn emergency tarping into a dangerous job. Avoid climbing on wet or snow-covered roofs. If the pitch is steep or the damage extensive, call a licensed roofing contractor. Spending money on professional help can prevent costly damage to your walls and interiors, as failing to tarp properly can lead to water intrusion in walls, increasing repair costs and putting your belongings at risk.
Why Tarping Is a Temporary Fix
Tarping roof damage keeps your interior dry, but it won’t fix the underlying problem. Most tarps only last a couple weeks to a few months due to weather exposure reducing their effectiveness. Water can still creep under old shingles or into compromised flashing. Left unchecked, this leads to mold, wood rot, and costly interior repairs.
Prompt professional repair is your best defense against further deterioration.
Fast, Reliable Roof Repairs from Krech Exteriors
At Krech Exteriors, we know how unpredictable Twin Cities weather can be. That’s why we provide fast, thorough inspections and high-quality repairs backed by our lifetime workmanship warranty. If you’ve had to tarp your roof, let us take the next step and restore it with lasting craftsmanship.
Need help after a storm? Request a free estimate from Krech Exteriors today.
FAQs About Tarping Roofs in the Twin Cities
How long can a roof tarp last?
Most tarps provide 30–90 days of protection, depending on weather exposure and installation.
Can I use a tarp for roof leaks in winter?
Yes, but snow and ice make tarping more dangerous. Professional help is strongly recommended.
Is emergency roof tarping covered by insurance?
Many homeowners policies reimburse for temporary protection measures like tarping.
How much does it cost to tarp a roof?
DIY tarping may cost under $100 in materials. Professional emergency tarping varies based on damage size and access difficulty.
What kind of tarp should I use for roof leaks?
Plastic tarps are a common option for temporary roof protection, but they have a shorter lifespan and are more susceptible to UV degradation and wind lifting than other materials. For better durability, use a heavy-duty, UV-resistant, waterproof tarp (6 mil or thicker), but keep in mind this is still short-term coverage.
Ready for Expert Roof Repair?
If you’ve had to install an emergency tarp, don’t wait too long for permanent repairs. Krech Exteriors brings over 35 years of roofing experience across Minneapolis, St. Paul, Lakeville, and beyond.
Protect your home before the next storm hits. Schedule your roof inspection today.